Rank: Administration
Groups: Administration, Customer
Joined: 10/24/2006(UTC)
Posts: 2,869
Location: Massachusetts, USA
Thanks: 2 times
Was thanked: 141 time(s) in 134 post(s)
|
I was packing up the parts kit the ship with the Buffalo the other night, and realized I don't talk much (or at all) about them on the web site. This kit comes with all Buffalo-III modules. (The Buffalo-IIIse has a similar but slightly different kit, which I will post about separately.) The parts kit looks like this... 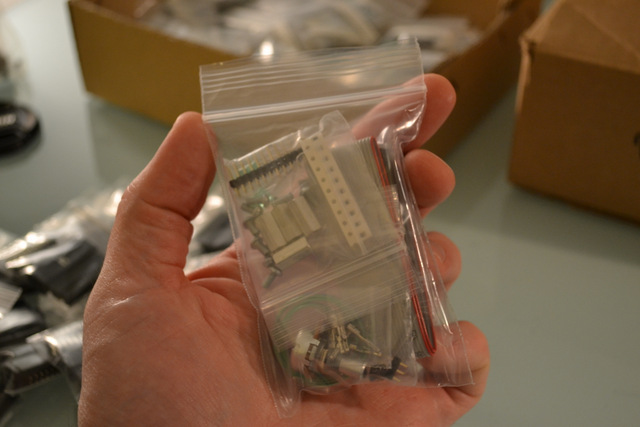 Inside, you will find three smaller bags: Volume Parts Kit  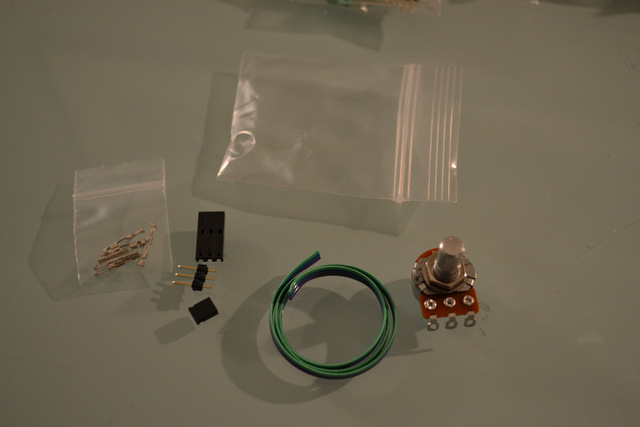 In it you will find the three-pin header... 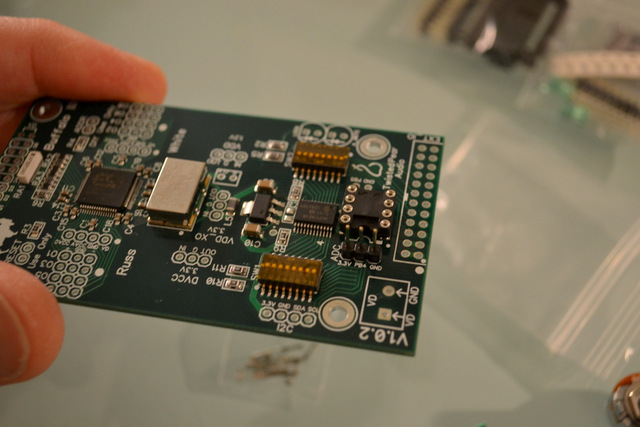 ...a shunt jumper in case you don't want volume control. 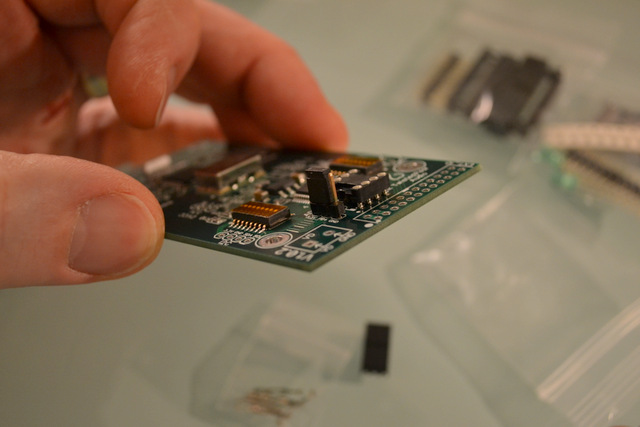 If you do want volume control, there is a three-pin connector with crimp pins (and extras)... 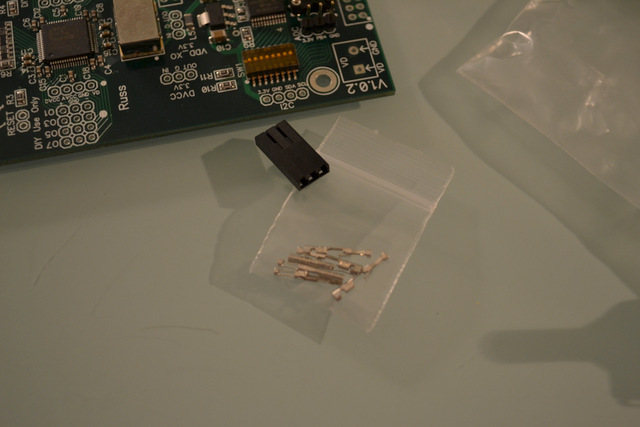 ...and a three-conductor wire and, of course, the volume pot. 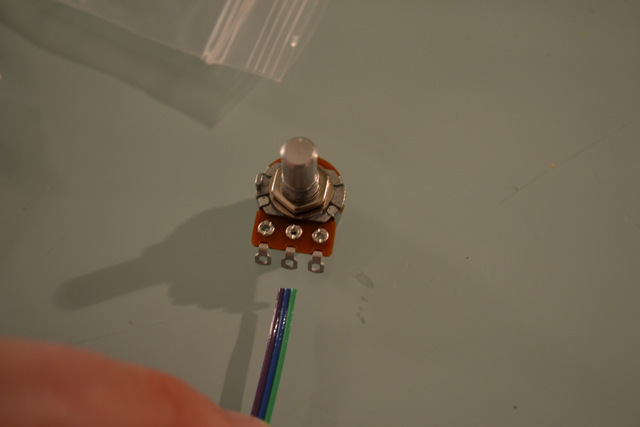 General Hardware Kit General Hardware Kit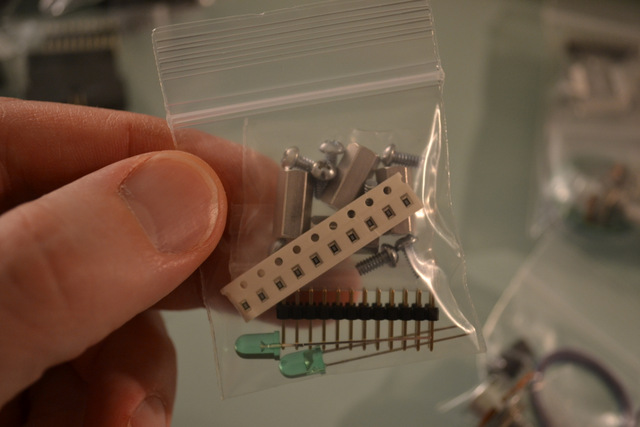 It includes the terminal block for power input... 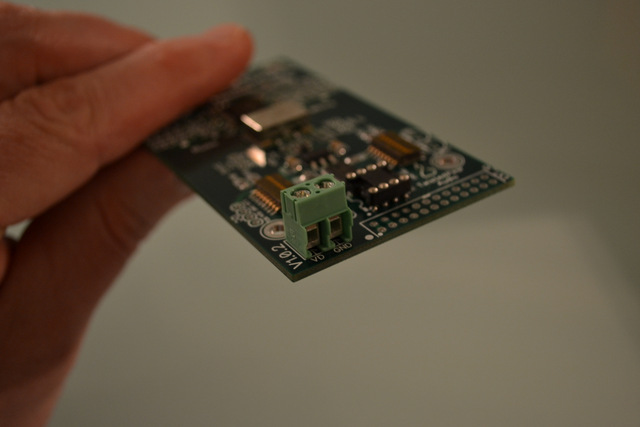 ...a header for EXT_IO connections... 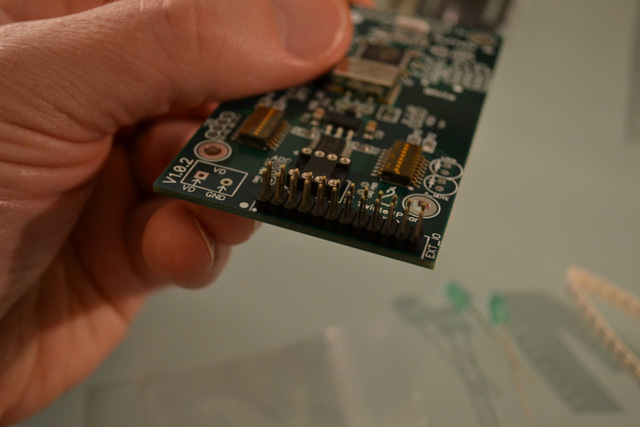 ...LEDs for Lock and Automute... 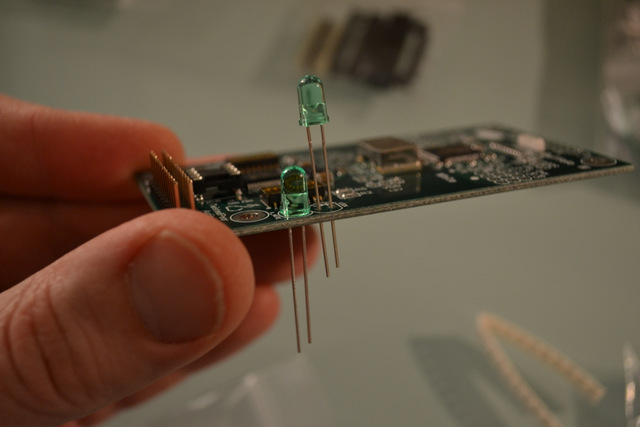 ...0-ohm jumpers for input and output configuration pads (with extras)... 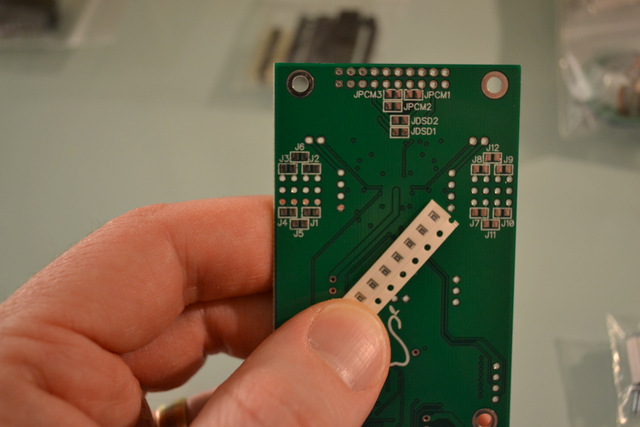 ...and the mounting hardware. 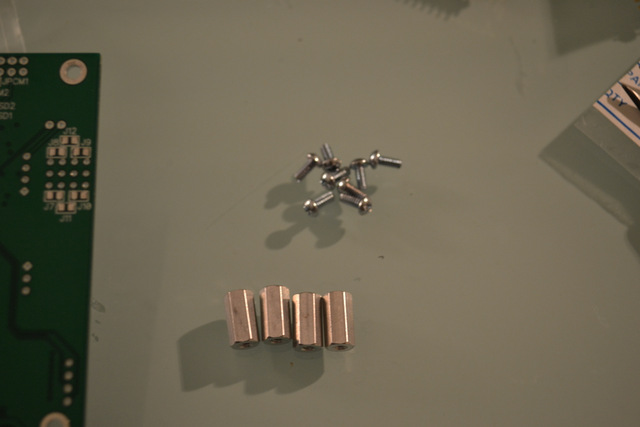 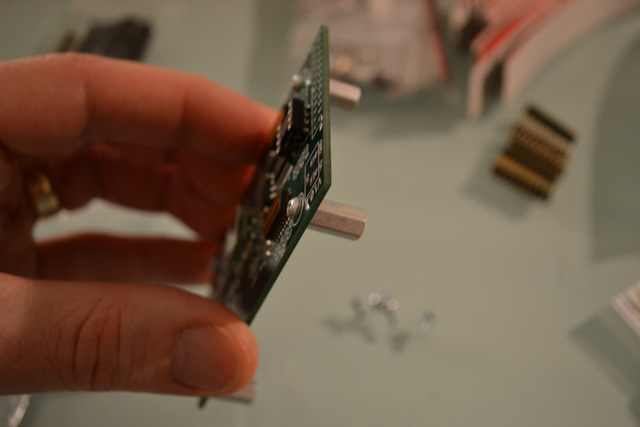 Input Connection Kit Input Connection KitThis male header is supplied, along with a matching female header. Either can be used on the Buffalo for input connections. The opposite can be mounted on add-on boards, such as the S/PDIF-4 and SideCar, to plug directly on to the Buffalo. (Each of those kits also comes with pairs of the same connectors.) 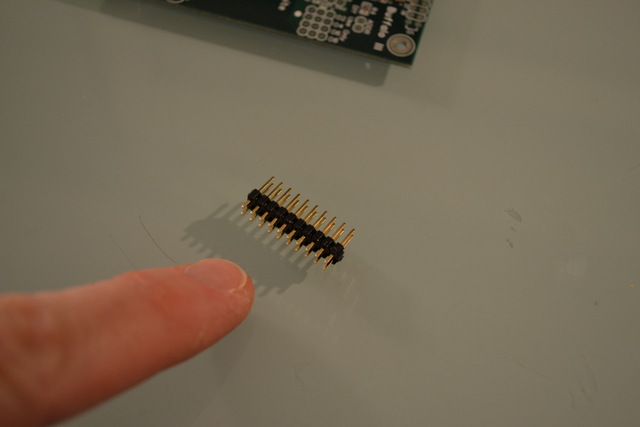 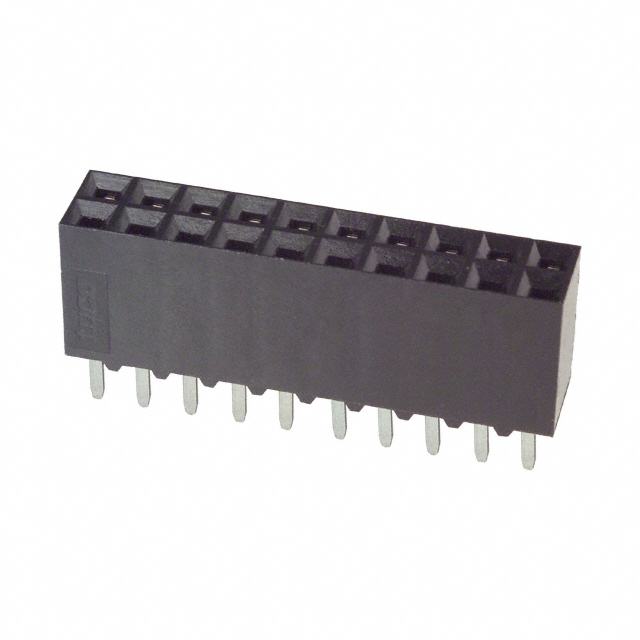 Add-on boards can also be direct mounted to the input header. 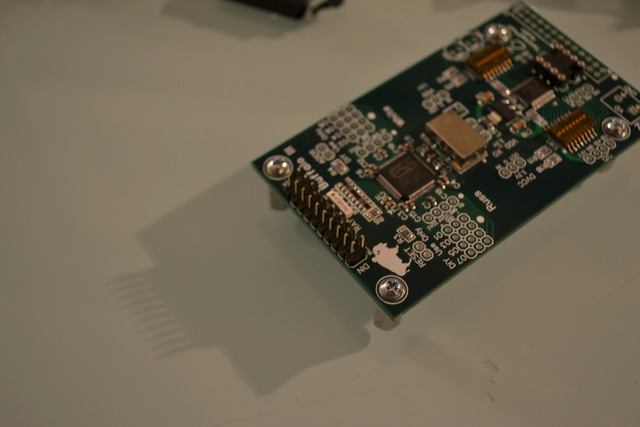 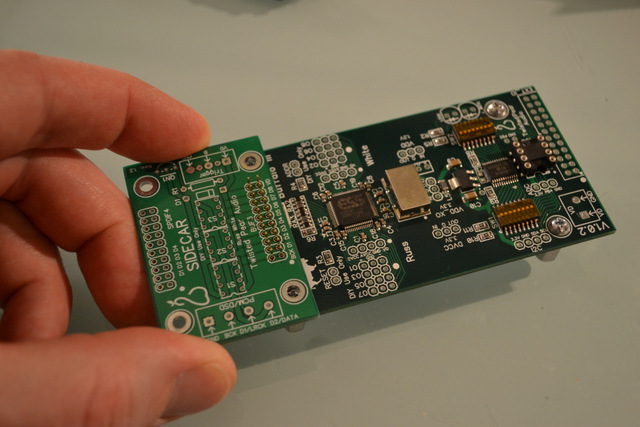 Edited by user Monday, January 23, 2017 3:50:16 PM(UTC)
| Reason: Not specified
|
 2 users thanked Brian Donegan for this useful post.
|
|
|
|
Rank: Member
Groups: Member
Joined: 4/1/2013(UTC) Posts: 20  Location: Berkeley, CA Thanks: 3 times
|
It's like you read my mind! Last night, after finishing the Legato board I began to look through the little baggies, and figured out most (but not all ;-) !!) of the parts—Thanks Brian!
I've picked through all the posts here and on DIY, and there are still mysteries (to my still-in-the-tube-era knowledge level). Having this type of extra information really helps.
|
|
|
|
|
|
Rank: Administration
Groups: Administration, Customer
Joined: 10/24/2006(UTC)
Posts: 2,869
Location: Massachusetts, USA
Thanks: 2 times
Was thanked: 141 time(s) in 134 post(s)
|
Glad it helped.
I am open to suggestions for making the various part kits better. Just drop me a PM with ideas...
|
|
|
|
|
|
Rank: Member
Groups: Member
Joined: 1/6/2013(UTC) Posts: 56  Location: Michigan Thanks: 7 times
|
Originally Posted by: Brian Donegan  I was packing up the parts kit the ship with the Buffalo the other night, and realized I don't talk much (or at all) about them on the web site. This kit comes with all Buffalo-III modules. (The Buffalo-IIIse has a similar but slightly different kit, which I will post about separately.) The parts kit looks like this...  Inside, you will find three smaller bags: Volume Parts Kit   In it you will find the three-pin header...  ...a shunt jumper in case you don't want volume control.  VERY NICE!!! If you do want volume control, there is a three-pin connector with crimp pins (and extras)...  ...and a three-conductor wire and, of course, the volume pot.  General Hardware Kit General Hardware Kit It includes the terminal block for power input...  ...a header for EXT_IO connections...  ...LEDs for Lock and Automute...  ...0-ohm jumpers for input and output configuration pads (with extras)...  ...and the mounting hardware.   Input Connection Kit Input Connection KitThis male header is supplied, along with a matching female header. Either can be used on the Buffalo for input connections. The opposite can be mounted on add-on boards, such as the S/PDIF-4 and SideCar, to plug directly on to the Buffalo. (Each of those kits also comes with pairs of the same connectors.)   Add-on boards can also be direct mounted to the input header.   Edited by moderator Tuesday, November 4, 2014 3:28:14 PM(UTC)
| Reason: Not specified
|
|
|
|
|
|
Rank: Administration
Groups: Administration, Customer
Joined: 10/24/2006(UTC)
Posts: 2,869
Location: Massachusetts, USA
Thanks: 2 times
Was thanked: 141 time(s) in 134 post(s)
|
A small update to the parts kit for the 8-channel Buffalo. I am now including a 20-pin female header with Buffalo accessory kits, and one with the Buffalo kit. The idea is to allow direct, but changeable, connections with accessory boards. It will mate with the male header in these pictures:   This would be in place of the ribbon cable, which I am thinking of making an optional accessory in the Parts Bin. The ribbon cable works very well, but requires attention to routing, which can lead to problems. I think people will like the direct plugging option instead. I will post some pictures when I get some time to take them. Edited by user Tuesday, May 28, 2013 11:23:35 PM(UTC)
| Reason: Not specified
|
 1 user thanked Brian Donegan for this useful post.
|
|
|
|
Rank: Member
Groups: Member
Joined: 6/4/2011(UTC)
Posts: 10
Location: australia
|
Brien
I'm just going to use the 20 pin Female on the sidecar.
That way I can plug/unplug to my heats content..
|
|
|
|
|
|
Rank: Member
Groups: Member
Joined: 8/20/2014(UTC) Posts: 43 
|
What about Buffalo IIIse parts kit?
|
|
|
|
|
|
Rank: Administration
Groups: Administration, Customer
Joined: 10/24/2006(UTC)
Posts: 2,869
Location: Massachusetts, USA
Thanks: 2 times
Was thanked: 141 time(s) in 134 post(s)
|
Good question. I actually need to update this thread, as the 8-Channel parts kit has changed as well.
|
|
|
|
|
|
Rank: Administration
Groups: Administration, Customer
Joined: 10/24/2006(UTC)
Posts: 2,869
Location: Massachusetts, USA
Thanks: 2 times
Was thanked: 141 time(s) in 134 post(s)
|
The parts for the Buffalo-IIIse is simpler, since there are no jumpers to install.
It has the same volume control kit, same LEDs, same power connector, same expansion header.
Instead of the male/female stacking connectors for the input, it comes with a 6-position terminal block for inputs. Optionally, you can order u.fl connectors for the inputs (from the Buffalo-IIIse page).
|
|
|
|
|
|
Forum Jump
You cannot post new topics in this forum.
You cannot reply to topics in this forum.
You cannot delete your posts in this forum.
You cannot edit your posts in this forum.
You cannot create polls in this forum.
You cannot vote in polls in this forum.